

|
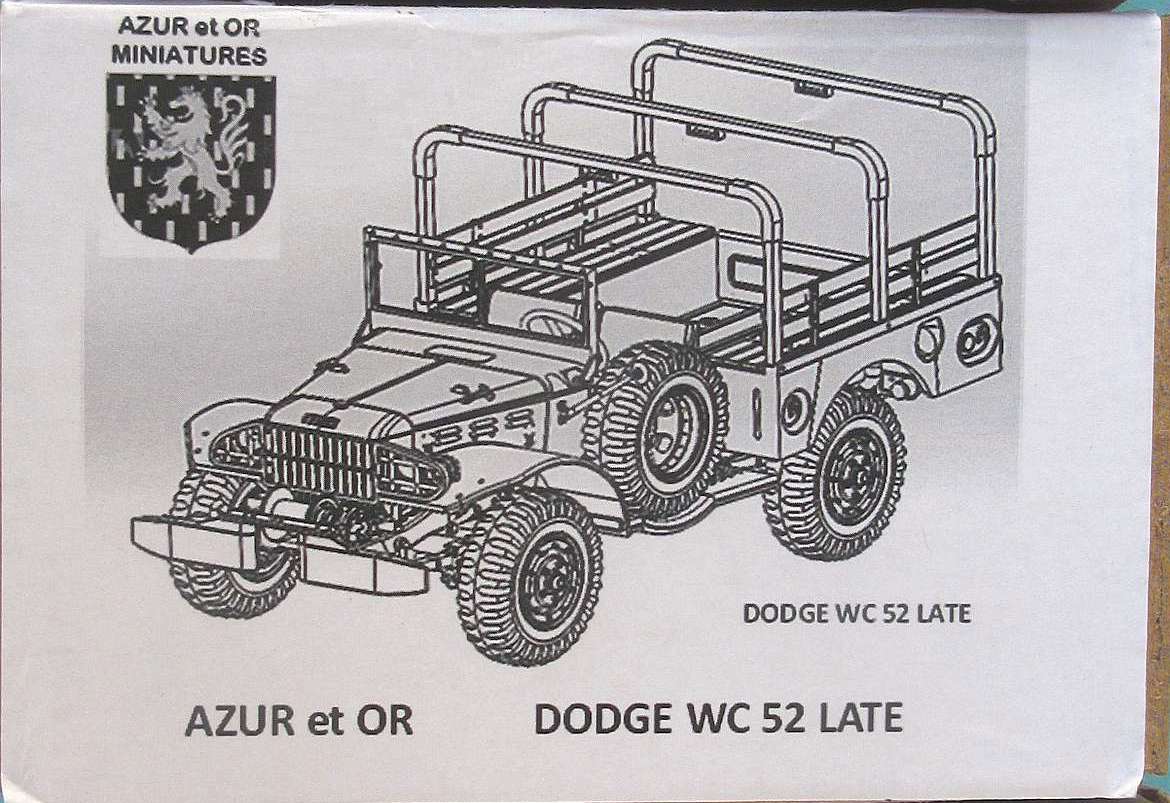 |
- The owner Laurent Diemunsch has invested a great lot of time in research, which is reflected on the kit.
Still, numeration of the parts, on "sprue" and on the instructions would ease construction, A LOT!
P.5 and half of page 6, depict the early version cargo body, instead of the late one; this is a minor flow, as the building sequence steps are the same, and the parts differences are of no consequence.
 |
- Construction finally starts with the bigger and complicated part, that being the chassis e.tc assembly; I have carefully separated the vehicle staff from
the print supports and then thoroughly examined over and over for any support leftovers and any bubbles; I only found a really small one on the front
bumper (the only place that needed trimming, anyway) and the small trace of it that remain visible, I decided to leave it, kind of battle damage. A second
one, located on the upper right cowl corner, where the engine hood would be touching, I also left it, it will be covered with a piece of cloth, the engine
hood itself or what else solution suitable to the scenery chosen.
Then I cleared up the cargo body and glued it to the chassis; this way I added strength to the vehicle; the running boards came next. I also glued the piece of the cowl, inside the engine bay, which was a little twisted, so small clamps were used to glue it in the place. Still, a small gap is present!
I like to glue the wheels later on the construction and not while building the undercarriage, as usually proposed on the instruction sheets. This way I can avoid accidents check wheel arch clearance and correct proper "sitting" of the vehicle
At this point, the whole thing received its O.D. livery; it was necessary for the engine bay, before installing the engine and its parts. (I usually build up the vehicle to certain point and then paint it; that works especially well on US or USSR with no camo paint to follow, in other cases, it works with the base camo color).
The engine was colored as per data collected though internet.
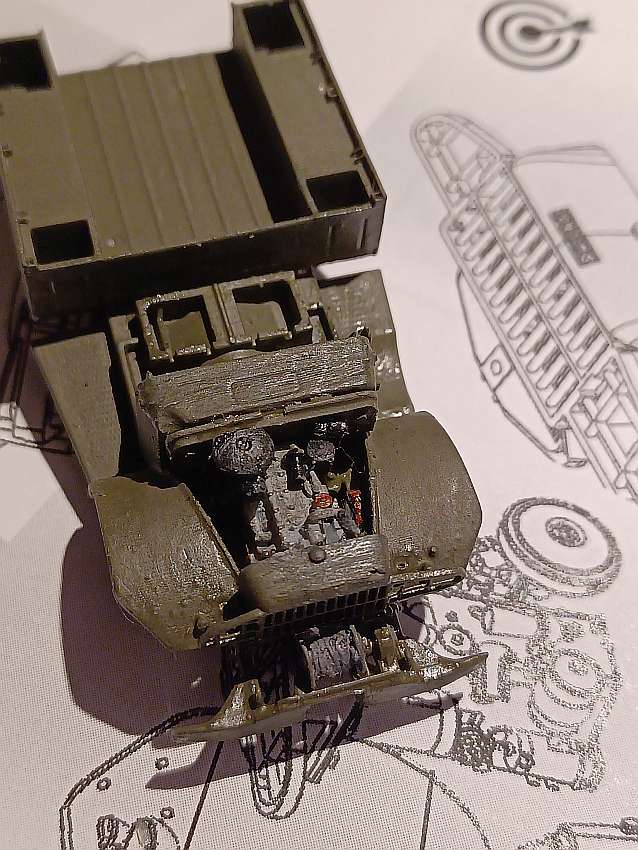
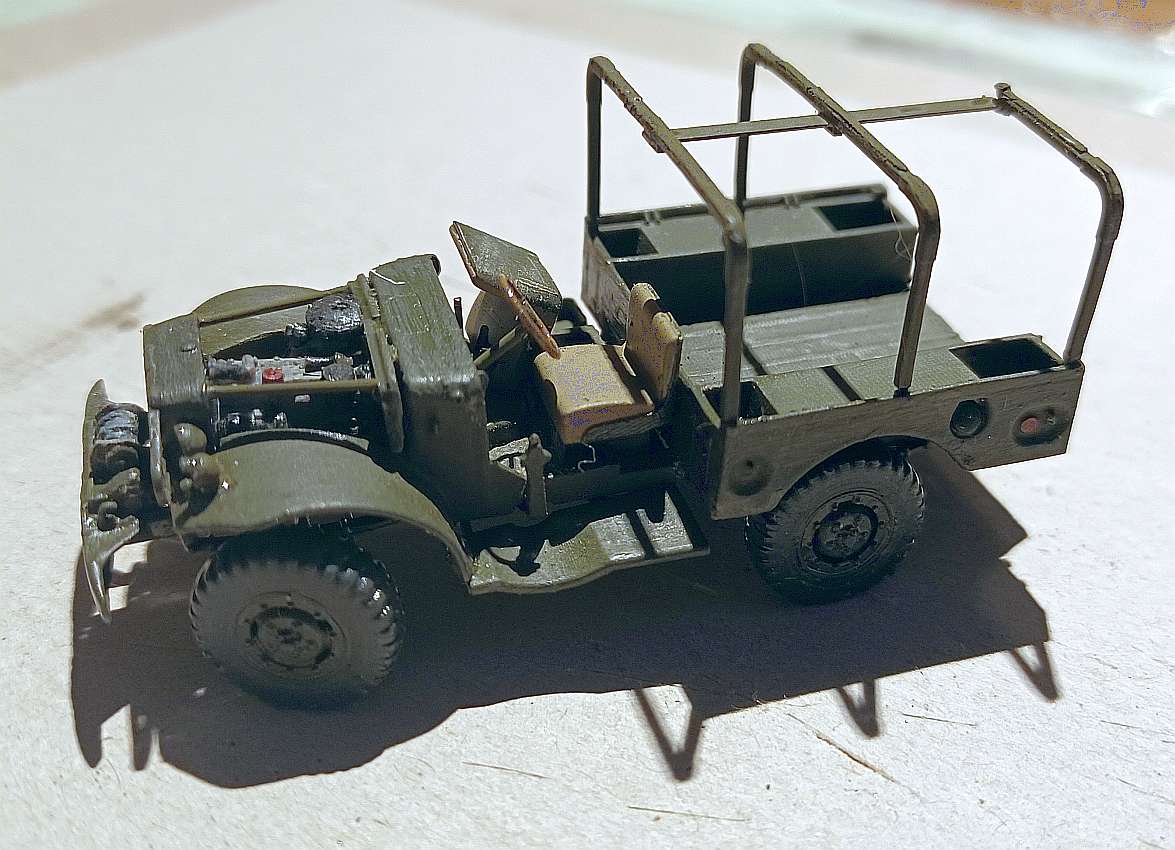
The cable reel received some thread to represent the cable and was glued in place. Next were the radiator/grille part, the engine, the air filter, the horn
and the radiator/grille part were glued in place. - Photo #1
 |
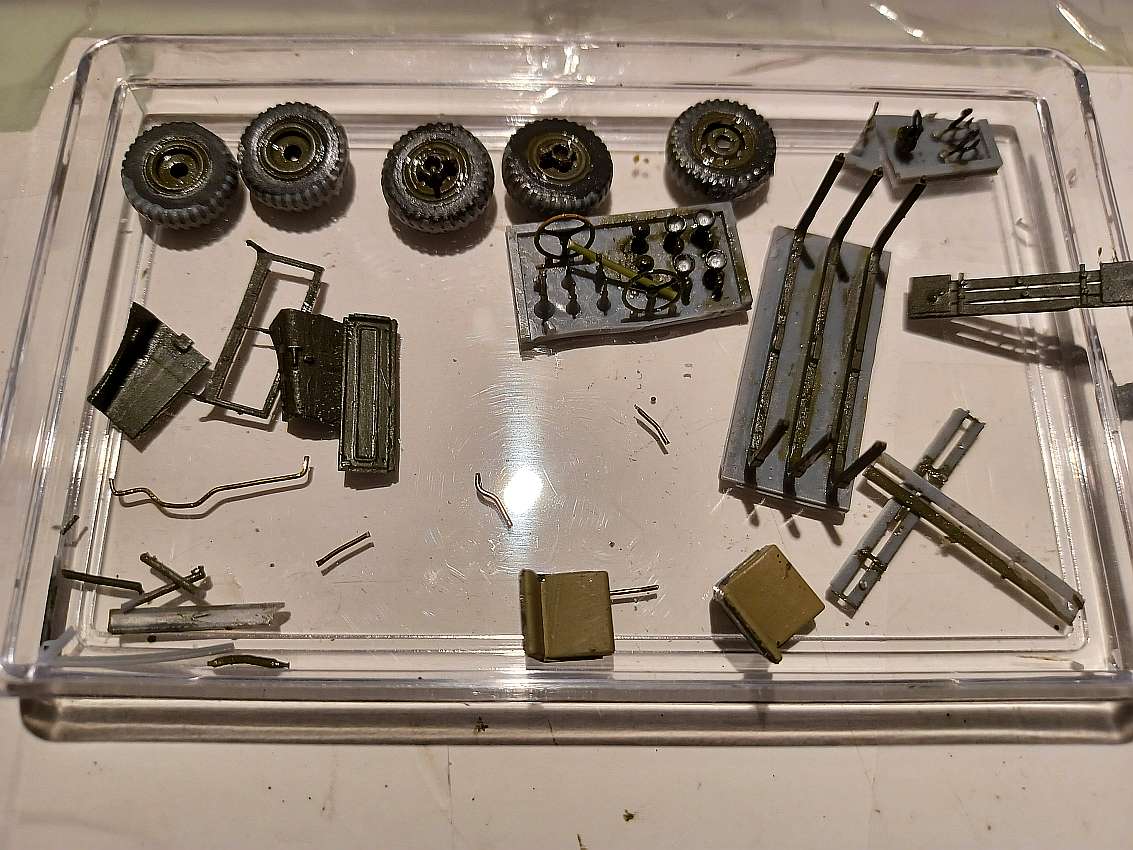
- In the meantime, the wheel tires were painted (tire gray, Humbrol #66)
The empty pioneer rack and the fuel can's support - (both from the spares box), the cargo parts, the wheels, the windscreen frame, the steering wheel, the
engine hood, the front lights, the side mirrors and the seats; all painted (some still on the sprue) and ready to be glued in place. - Photo #2
- I swear, this was an original idea of mine, before seeing a relative picture on the AetO site! "(Both from the spares box)".
A hole was drilled above the brake pedal to receive the steering wheel column and another one was drilled on the gear lever cone, to help fix the part;
btw, all 4 levers are made from metal rod, straight or bent as required; the gear lever will receive a knob (abt 0.75mm, I have some hundreds in my spares
box). - Photo #3


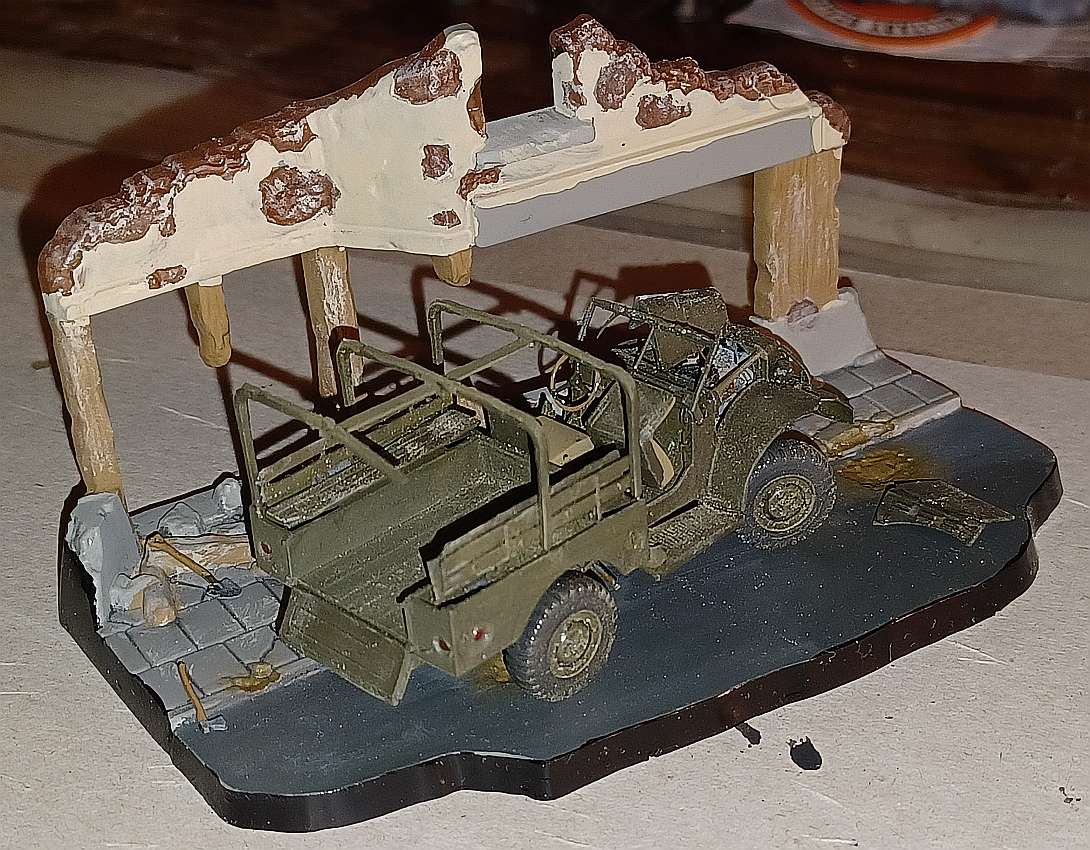 |
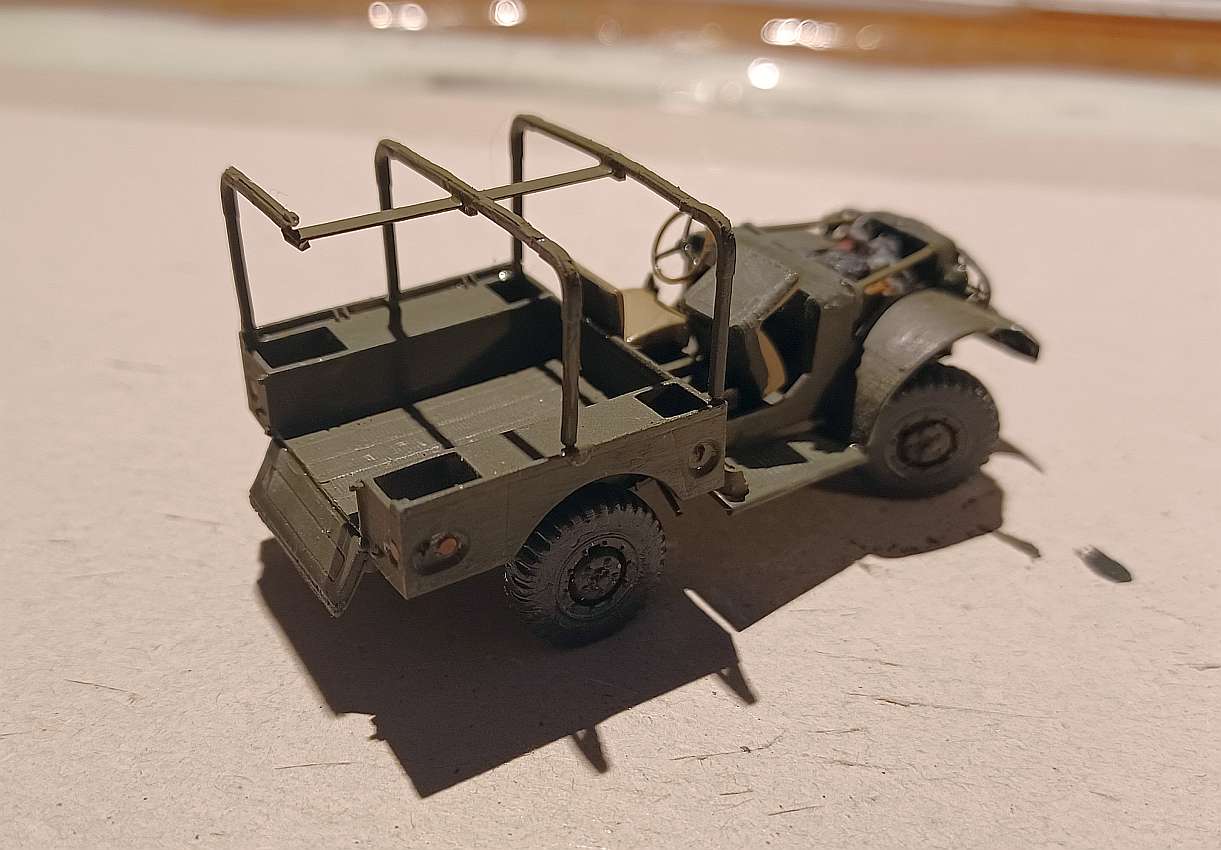
- The wheels have been glued, the front ones in an angle. Then the replacement steering connector rode (see below, special remarks) and the exhaust rear part photo #4;
- Small/delicate parts can now be glued: windscreen (complete with glazing and wipers), engine cowl to radiator supports, steering wheel, tilt supports, bench parts, the fuel can's support, ONLY the rear view mirrors left aside; the tailgait glued opened, I believe that's all.
- Photos #5, 6 and 7 The right half of the engine hood and the empty tool rack will be scattered around; the spare wheel will just be missing (like if been used earlier)
Special remarks:
- Now is the time to point out some pros and cons, most of them because of the maker's choices.
Pros:
- the windshield glazing dimensions kindly provided (yet not checked on accuracy issues)
Cons:
- The dash instruments should be made in a relief form rather than recessed. The coloring with the drybrush technic would bring them to life.
Benches and backrests on the cargo body:
- First problem noticed is that (maybe due to the inclined printing) both seats exhibit a missing corner; then, all (seats and backrests) I believe should
have been printed with the non-visible side attached to the support, so that the modeler wouldn't have to file up the VERY fragile visible end side.
- The gear lever installation point should have a receiving hole waiting for it. The winch could have sported some cable rolled around.
Parts destroyed (broken) while removing the support, due to their extreme delicacy:
- Windscreen upper length and the divider, the steering connector rode, the stands of the bench backrests; all these were scratch re-built.
- I also managed to brake all three tilt supports; the joint to the block was really thick; I didn't really minded though (remember: abandoned vehicle).
- The rear view side mirrors are so delicate, that even if they will survive the removal from the block, they definitely will not survive being in their place!
- It's a surprise that such a detailed model lacks the windshield wipers and their motors (yet easy to scratchbuild, and use spare PE wipers).
- Another omission, I believe, is the two rods that connect the cowl to the radiator cover; also easy to be made with a simple rod (0.50-0.75mm)
Some REALY small AND delicate parts, concerning the steering mechanism, are sadly omitted. Not visible, anyway.
- A last one: the exhaust rear part, right after the muffler, was missing; easily scratchbuilt.
Conclusion:
- There are quite a few WC52 kits in the market, plastic, resin, white metal. I personally have 19 kits (!) some built, some waiting, so, why another more? Well,
this was my question also, until I first saw on line the parts of the specific offer; it was love at first sight!
One can just replace an Italeri (old ESCI) vehicle; or just take advantage of the plethora of detail and add to his collection a vehicle undergoing
service/repair, displaying the motor bay or the undercarriage or the cab and cargo bay detail, or ALL of them; one might try to kit bash and use this one
in conjunction with other kits, donating detailed parts to them, 3 or more kits would benefit from this (Attention: surgical skills and similar experience,
absolutely needed!).
- Finally, one could represent a destroyed vehicle taking advantage of the high level of detail, present on the chassis as well - that is you had the heart
to "destroy a piece that could be displayed as "factory brand new!
- As aforementioned, I opted for an abandoned vehicle, that would need all possible openings and displays, not serious damage being necessary, just what I
have broken, plus light weathering. - Model bought by the author/reviewer.
Note: To become a working e-mail address, replace in email address (at) with @
|
|
 E-mail to HenkofHolland