


 |
| --- T252204 - The Resurrection Her, we it all began - Pound's Scrap Yard Portsmouth --- |
 |
 |
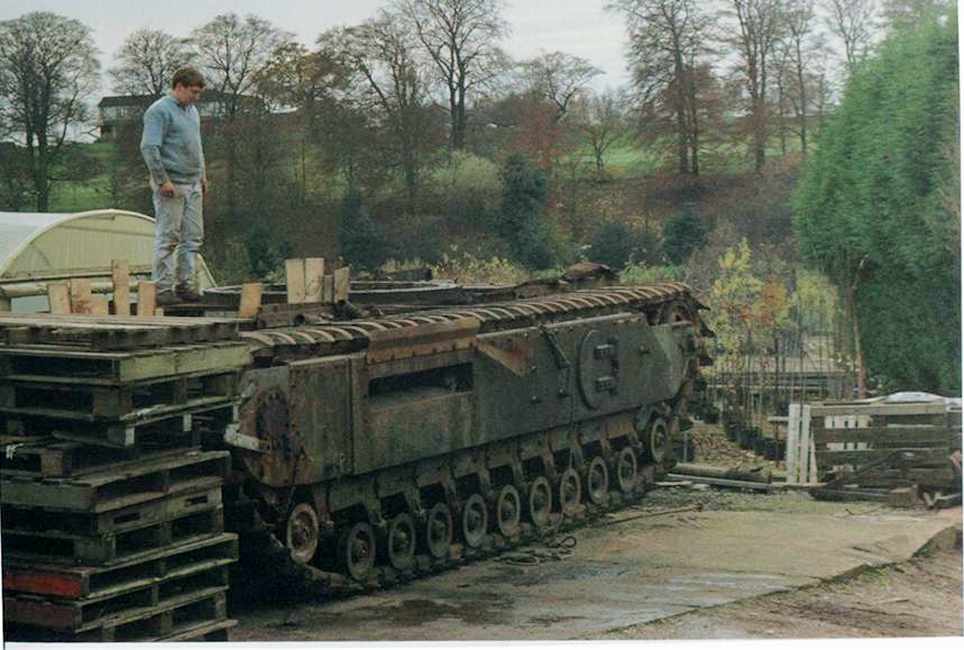
| --- The arrival of T252204 in 1986 - note the shortage of barrel, track guards and air intakes as well as lots of other smaller items. The turret was only held on in place by it's own weight on the early models Note that the turret is less it's barrel and rear kit box. It looks as though the usual restorers uniform is being worn, including flat cap! --- |
 |
 |
| --- With the turret removed, the tank could be prepared for it's new home which will be built around it. After the turret had been removed the home for the next ten years started to take shape in the form of a poly tunnel. --- |
 |
 |
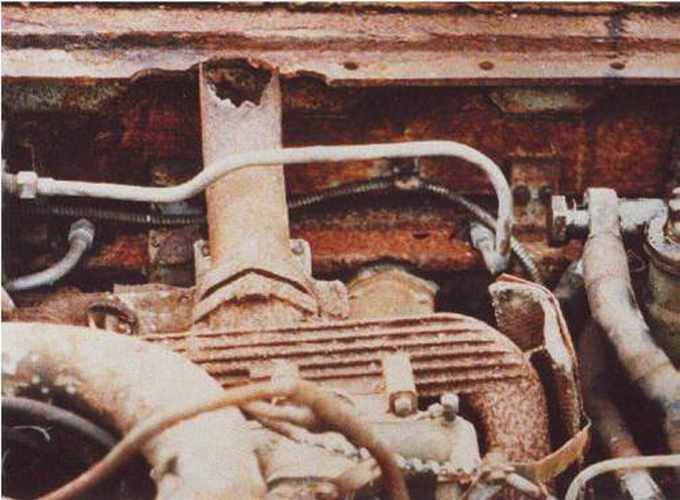
| --- Getting to grips with the hardware - note the "boxes" are the ready to use ammo boxes - the flame thrower has been removed. View of the original engine prior to removal. --- |
 |
 |
| --- Quite a maze of pipe work of which not much was used in the restoration. Water ingress did the greatest damage after seeping into the block and freezing. The removal of the engine with planks protecting the radiators that are out board. --- |
 |
 |
| --- This is what remains when you take 22.5 litres of engine out. A show in the engine bay before. Years of lubricants, dirt and rust left a sludge that had to be cleaned out. --- |
 |
 |
| --- The result of laborious cleaning, preserving and painting are evident in this picture. The drivers position from the near side escape hatch before the restoration. --- |
 |
 |
| --- The drivers position part way through restoration. A lot of parts, such as the seat and pedal box are yet to be replaced. The drivers position from the offside escape hatch before the restauration. --- |
 |
 |
| --- The drivers position after with the seat, pedal box and flamers position restored and replaced. Further views of the flamers position indicating the state the inside was in prior to starting the restoration. Where do I start? --- |
 |
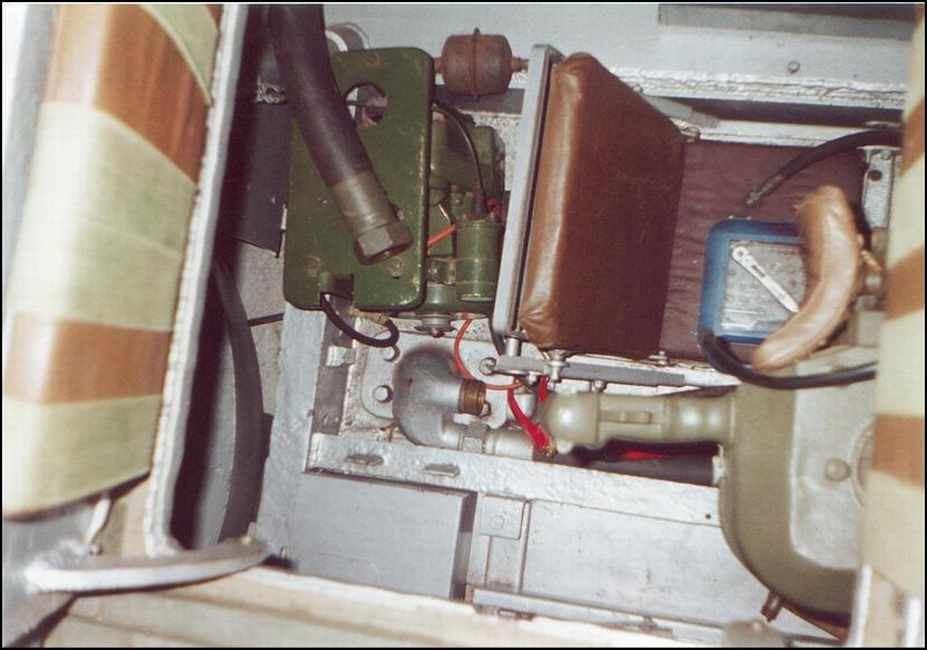 |
| --- Two views of the flamers position. In the left hand view the green object is the onboard "Tiny Tim" generator. The large black pipe on top should be connected from just next to the generator up to and under the flamers control which is the green box like object that can be seen central in the right hand view. The brown curved object is the head pad for the flame operator. --- |
 |
 |
| --- Two more views of the turret - left is a view from the drivers port through with the basket still in place with the gun layer's and commanders seat in view. On the right the turret ring and engine have been removed as has one of the inspection plates allowing a view through to the engine bay. The odd shaped box is for spent Besa cases and the silver object is where an air intake box fits. The small bore pipe is for fire extinguisher tank --- |
 |
 |
| --- Two views inside the turret prior to removal. The large amount of rust can be clearly seen resultant, in part, to the dissolving of soft metal components as can be seen in the right hand picture top centre. A large proportion of soft metal boxes and fixtures throughout the tank have been replaced.--- |
 |
 |
| --- Part of the ready to use ammo tray that was attacked by rust. See later views of the restored turret with the new box in place. The views of the turret, shows the existing ready to use ammo container with the location for the battery behind and its attendant isolation controls. --- |
 |
 |
| --- Here the front renewed ready to use ammo box with further storage behind. Top left is part of the barrel mechanism. |
 |
| --- Two views of the turret, the right, after restoration, is one of the cyclonic air cleaners for the engine with a green canvas sleeve retaining a grit collector at the bottom. The oval next to the battery is a butt holder for a Bren gun. The black bottle is one of the fire extinguisher systems for the engine which is mounted on the engine bulkhead. The left view shows just how much work was needed in just clearing out. --- |
 |
 |
| --- The restored 19 set in place but still requiring bits and pieces to finish off. (It's alleged that it can only pick up Vera Lynne) The left hand medic bag, which still has most of its contents intact, was used at the Italian Anzio landings during WW2. Work continued, even at night, with the fit of the track guards being "adjusted" with a grinder. It got quite cosy even in winter with snow on the ground! Just like war time ain't it? "Put that light out" --- |
 |
 |
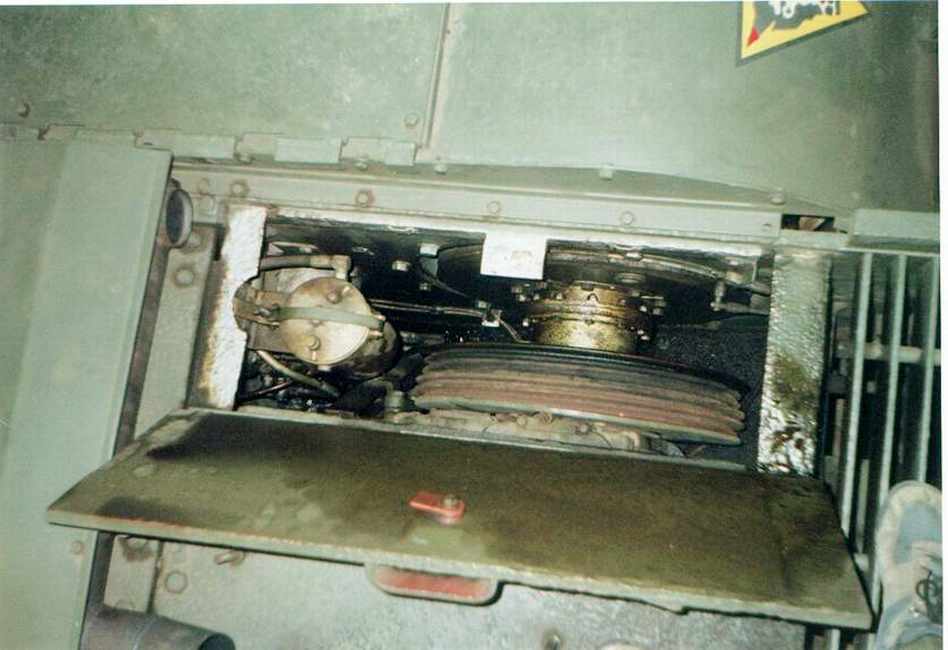
| --- This is the state of the bogies and tracks prior to cleaning and painting. Note the stiff link which has since straightened out. The view shows one of the gear box hatches. The round object on the left is the fuel filler, with one of the steering brake drums centre. The amount of oil lying around is due to the bottom drive shaft seal leaking, probably due to a "flat" occurring during the long storage time. The Churchill was renown for spraying all manner of fluids everywhere. --- |
 |
 |
| --- The view shows the exhaust pipes and boxes protected by covers, all new. |
 |
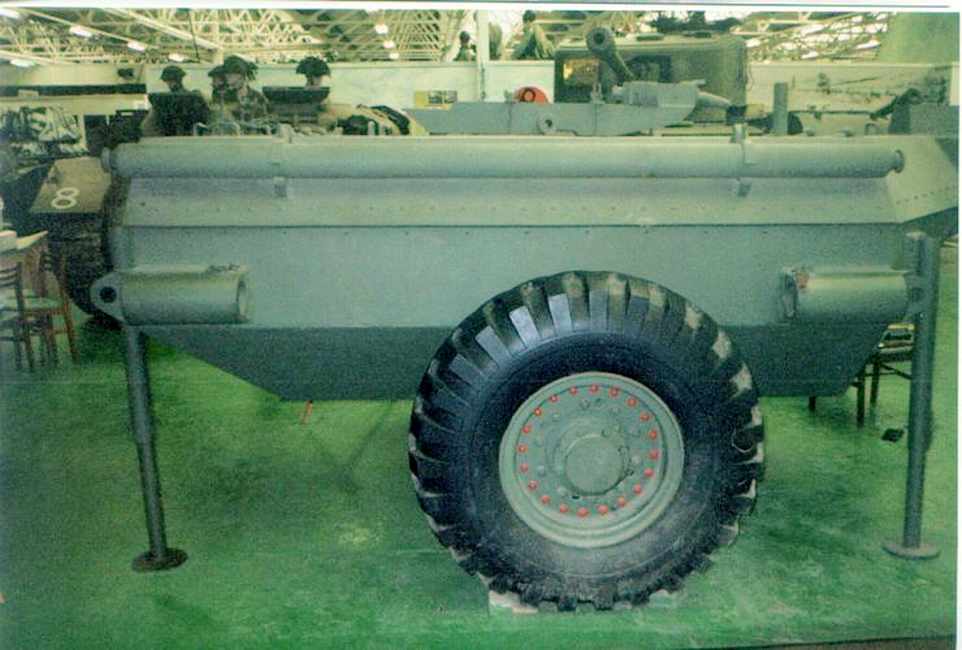
| --- This is the connector for the flame thrower trailer and fits on the rear of the tank. It pivots in two directions with a ball end that fitted in a socket on the trailer. This mighty chunk of cast steel is bolted on and then supported by a ring bracket. The Holy Grail - a flame thrower trailer! --- |
 |
 |
| --- The original gear box that had been damaged when still in position. The small "engine" is the compressor for the steering assistance. A flat 12, horizontally opposed petrol engine as fitted to a Churchill. --- |
 |
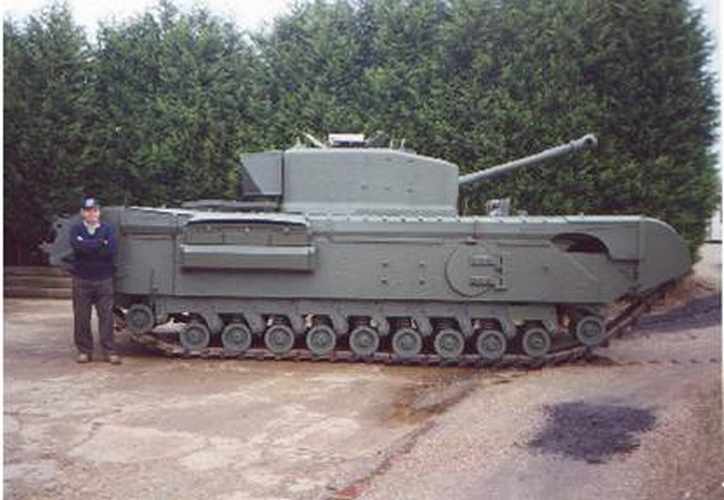 |
| --- T252204 - 79th Armoured Brigade - Starting to look the part. On it's way to Duxford, August 1999, for it's first trip out. --- |
 |
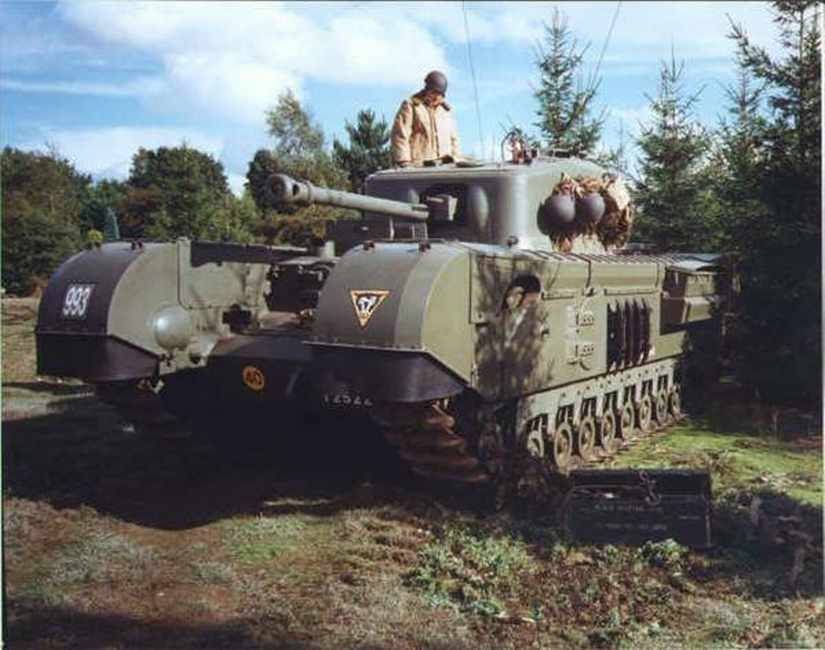 |
| --- In the "Normandy" field of operations. To the last: Landing on the beach of Arromanches, France, 6 June 2004 --- |
 |
Note: To become a valid e-mail address, replace in email address (at) with @
 E-mail to HenkofHolland